There’s nothing quite like the moment a tiger steps onto the track twenty feet from your gypsy — engine rumbling, dust settling, your heart rate spiking as you raise the camera. And then, back at the lodge that evening, half your frames from that exact moment are soft. Not out of focus exactly, just not quite sharp enough to print or submit anywhere.
This is the single most common complaint among photographers new to shooting from a vehicle. The problem isn’t your camera — it’s that a safari jeep is a genuinely difficult shooting platform: constant engine vibration, sudden jerks as the driver repositions, and dust that settles on your gear the moment you stop moving. These safari photography tips address each of those problems directly, based on what actually works in the field, not just in theory.
Camera Settings for Sharpness
The Shutter Speed Rule
On a vehicle, your baseline shutter speed should never drop below 1/1000s, even for a completely stationary animal. The reason has nothing to do with the animal moving — it’s the engine idling and your own body shifting on a cushioned seat that introduces micro-shake into every frame.
For anything moving — a walking leopard, a bird taking off, a running chital — push that to 1/1600s to 1/2500s or faster. It feels aggressive if you’re used to handheld shooting on solid ground, but a moving vehicle simply doesn’t forgive slower speeds the way a tripod on a riverbank does.
Autofocus Modes That Actually Track
Use Continuous AF — AI Servo on Canon, AF-C on Nikon and Sony bodies — as your default for every safari, not just for action shots. Single-shot AF will lock focus once and then miss the subject the moment your vehicle shifts even slightly.
If your camera has eye-detection or animal-eye tracking, turn it on and leave it on. It’s one of the few genuine technology upgrades that meaningfully increases your keeper rate from a moving platform, especially when a subject is partially screened by grass or branches.
Balancing Aperture and ISO
Wide apertures (f/4 to f/5.6) help you hit fast shutter speeds, but don’t open up so far that you lose the whole animal to a shallow depth of field — a tiger’s face sharp while its far eye and shoulder blur out is a common, avoidable mistake.
In forest shade, where light drops fast, don’t be afraid to push ISO to 1600 or even 3200. A slightly noisy but genuinely sharp photograph is always more usable than a clean, soft one. Noise can be reduced in post; motion blur cannot.
Physical Techniques and Gear Stabilization
Handheld, Beanbag, or Monopod?
Tripods simply don’t work in a shared gypsy — there isn’t floor space, and the vehicle itself moves regardless of what your tripod legs are doing. A beanbag rested on the door frame or roll bar is the most practical stabilization option in a safari vehicle, giving you a stable base you can quickly reposition.
A monopod is a reasonable second choice if you’re shooting from a more open canter, but it needs a free hand to brace against vehicle movement, which beanbags don’t require. For fast action, going fully handheld with elbows tucked against your body often beats both, since it lets you swing with the subject instead of fighting a fixed support.
Controlling Engine Vibration
This is the tip most photographers never think to ask for: request that your driver switches off the engine whenever you’re stopped at a sighting. Engine idle vibration transmits directly through the chassis into your beanbag and your hands, and it’s often the real reason a stationary-subject photo comes out soft.
Good guides on a dedicated wildlife photography workshop will do this automatically without being asked — it’s a small habit that makes a measurable difference to your keeper rate.
Protecting Gear from Bumps and Dust
Indian park tracks are uneven, and a camera bouncing loose on a seat is how lens mounts get damaged. Keep your body-and-lens combination strapped across you or resting in a padded bag between sightings, and carry a rain cover or dust wrap for the return drive on dry, dusty routes. If you haven’t finalized your setup yet, a camera and lens buying guide for wildlife photography is worth reading before you commit to gear that won’t hold up to daily field use.
Quick-Reference Settings Matrix
| Scenario | Shutter Speed | Aperture | ISO | Stabilization |
| Stationary animal, open light | 1/1000s | f/5.6-f/8 | 200-400 | Beanbag on door frame |
| Walking animal, open light | 1/1600s | f/5.6 | 400-800 | Beanbag or monopod |
| Running/flying subject | 1/2500s+ | f/4-f/5.6 | 800-1600 | Handheld, engine off, elbows braced |
| Forest shade, still subject | 1/1000s | f/4-f/5.6 | 800-1600 | Beanbag, brace against seat rail |
| Low light, dawn/dusk | 1/500-1/800s | widest available | 1600-3200 | Beanbag, image stabilization on |
Treat this table as a starting point, not a rulebook — adjust half a stop either way based on your specific camera’s high-ISO performance.
Practice Before You Go
Reading settings on a page is one thing; reacting fast enough in the field is another. If you’re preparing for a serious trip, a structured private 1-1 wildlife photography session lets you practice these exact adjustments with a mentor watching your results in real time, which builds muscle memory far faster than trial and error alone. And when you’re ready to put it into practice, well-planned wildlife photography tours already account for vehicle seating and stopping discipline, so you’re not fighting your platform on top of everything else.
Conclusion
Sharp wildlife photography from a moving jeep comes down to a small set of habits repeated consistently: keep your shutter speed high, trust continuous autofocus, stabilize against the vehicle rather than through it, and ask for that engine to switch off whenever you can.
None of this is complicated, but it does take a few safaris of deliberate practice before it becomes automatic. Run through these settings mentally before your next trip, and you’ll notice the difference in your keeper rate the very first evening you review your files.
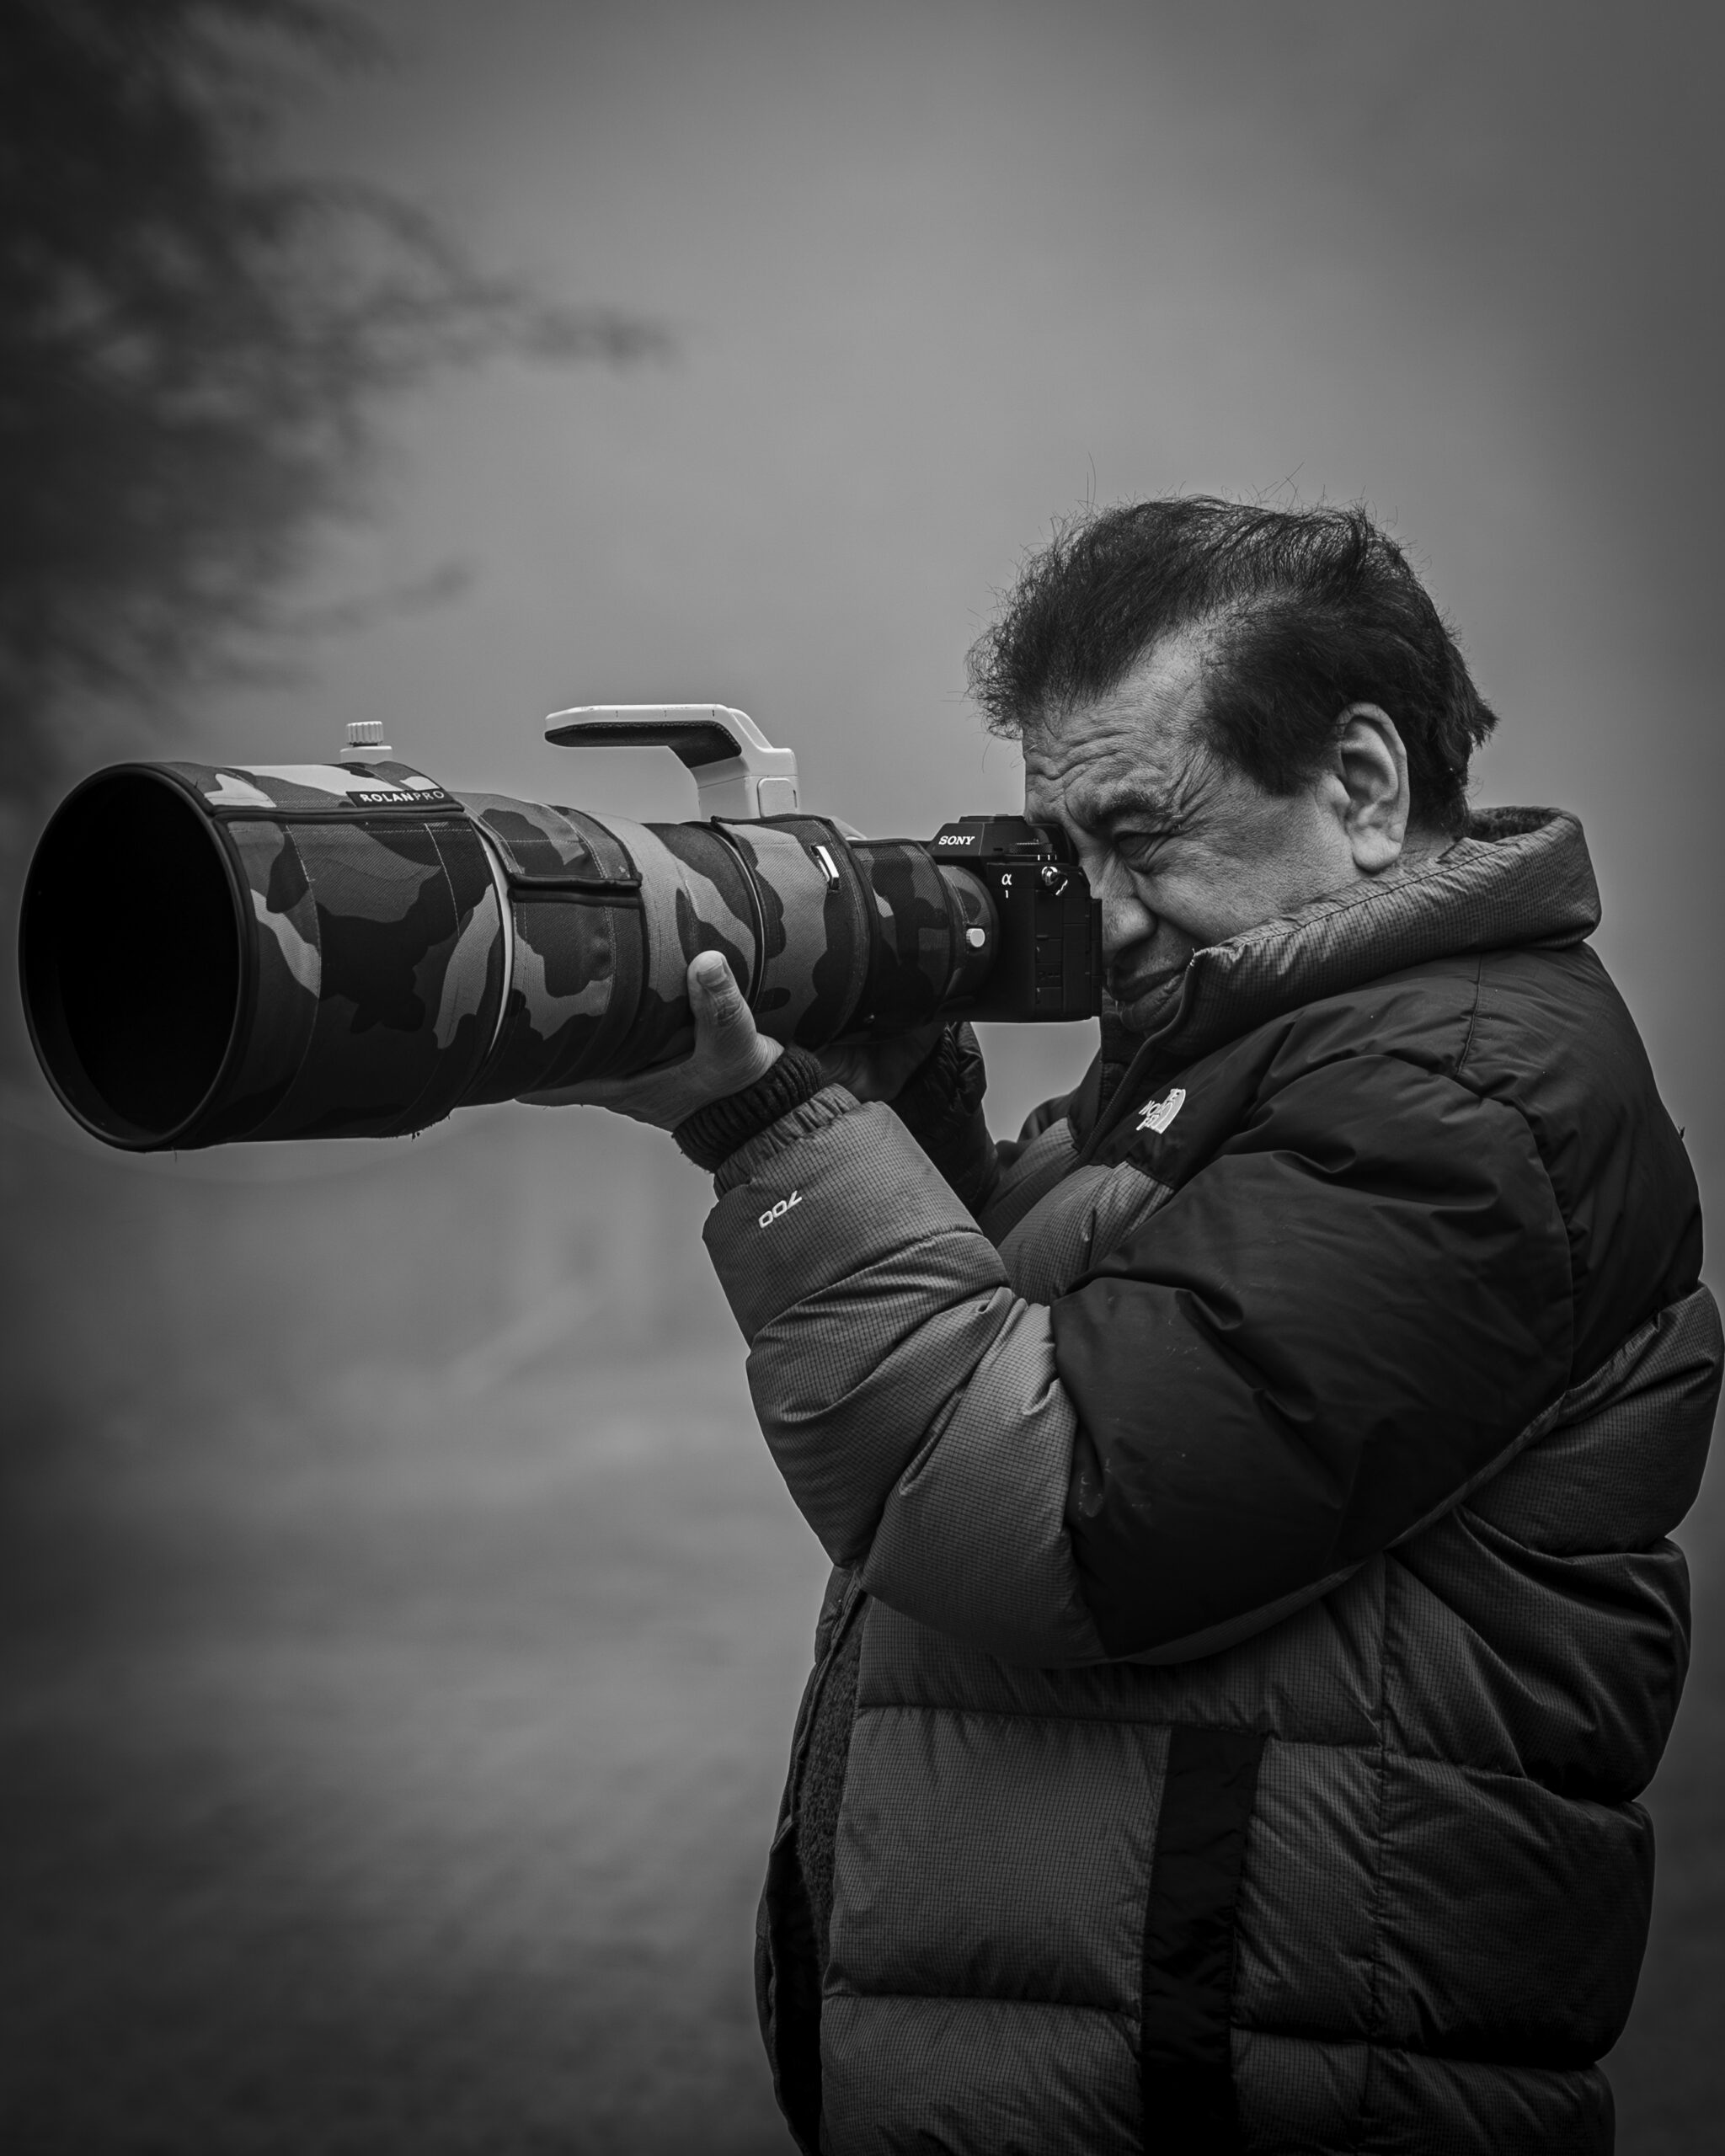
Yogesh Bhatia is a professional Wildlife photographer & mentor in India whose work reflects patience, observation, and a deep respect for nature. His journey in wildlife photography is shaped by countless hours in forests, observing animal behavior and waiting for moments that unfold naturally. Through his lens, wildlife is portrayed not just as subjects, but as living stories within their natural environment. His approach to Wildlife photography India focuses on authenticity rather than staged perfection, resulting in images that feel raw and immersive.