Quick Answer
The best wildlife photography camera settings India photographers use start with Manual or Aperture Priority mode, a shutter speed of 1/1000s or faster for moving animals, a wide aperture of f/5.6–f/8, and Auto ISO with a sensible limit. Add continuous autofocus, subject tracking, burst mode, careful exposure compensation, and RAW format. These starting points suit most safari conditions, from dusty grasslands to dim forest light. Adjust them to the animal’s speed, the light and your lens, and practise until changing them becomes instinctive.
Why Settings Matter More in Indian Forests
Indian reserves test your camera in unusual ways. Sal forests swing between bright patches and deep shade, dusty trails scatter light, and safari vehicles vibrate while sightings last only seconds. A tiger can vanish behind a bush before you finish adjusting a dial.
That is why knowing your wildlife photography settings for beginners and experts alike is the difference between a sharp frame and a missed moment. The ten settings below are general starting points. Always adapt them to your own camera and the light in front of you.
The 10 Camera Settings You Must Know
1. Shooting Mode: Manual or Aperture Priority
Manual with Auto ISO gives you control over shutter speed and aperture while the camera handles exposure. If that feels heavy at first, Aperture Priority is a friendly alternative. Avoid full Auto, which rarely prioritises the fast shutter wildlife needs.
2. Shutter Speed
Shutter speed for wildlife photography is the setting that most often decides sharpness. A good rule is to go faster than you think you need.
- Resting animals: 1/500s
- Walking animals: 1/1000s
- Running, flying or hunting: 1/2000s or faster
- Bird in flight: 1/2000s to 1/3200s
Switch on image stabilisation for stationary subjects, but remember it cannot freeze a moving tiger’s motion.
3. Aperture
Shoot at f/5.6 to f/8 for most subjects. This keeps the animal’s face sharp while separating it from the background. Wide-open apertures reduce depth of field, so a tiger’s eye may be sharp while the nose is soft.
4. ISO: Use Auto ISO With a Ceiling
Light changes quickly in forests. Set Auto ISO with a maximum limit, such as ISO 6400 on a modern body, and let it rise as light falls. Accept some noise instead of motion blur, since noise can be reduced in editing while blur cannot be fixed.
5. Autofocus Mode: Continuous
Use continuous autofocus (AF-C on Nikon and Sony, AI Servo on Canon). It keeps refocusing as the subject moves toward or away from you, which is crucial for walking tigers and approaching vehicles.
6. Focus Area and Subject Detection
Modern mirrorless cameras recognise animal eyes. Enable animal or bird eye-detection, and pair it with a flexible tracking zone. On older DSLRs, use a small cluster of points and place them on the eye.
7. Drive Mode: High-Speed Burst
Behaviour changes in fractions of a second. Burst shooting helps you capture the best pose, paw position or expression. Shoot short bursts rather than holding the shutter continuously, so you do not fill your card with near-identical frames.
8. Metering and Exposure Compensation
Dark animals against bright backgrounds, or pale ones against shadow, confuse the camera. Use evaluative or matrix metering, then apply exposure compensation: roughly +0.3 to +1 EV for backlit subjects, and −0.3 to −1 EV for bright, sunlit scenes. Check your histogram regularly.
9. White Balance
Auto white balance handles most situations well. Forest shade can look cool and blue, while golden-hour light turns warm. Because you are shooting RAW, you can fine-tune colour later without quality loss.
10. File Format: RAW
RAW preserves highlight and shadow detail, and gives you freedom to adjust exposure and colour. If your camera has dual card slots, record RAW to both cards as a safeguard, since you cannot repeat a tiger sighting.
Quick Reference: Settings at a Glance
| Setting | Starting Point | Priority | Why It Helps |
| Shooting mode | Manual + Auto ISO | High | Full control with flexible exposure |
| Shutter speed | 1/1000s or faster | Very high | Freezes motion and reduces blur |
| Aperture | f/5.6–f/8 | High | Sharp subject, soft background |
| ISO | Auto, capped at 6400 | High | Adapts to changing forest light |
| Autofocus | Continuous (AF-C / AI Servo) | Very high | Tracks moving animals |
| Focus area | Eye / animal detection | High | Keeps eyes sharp |
| Drive mode | High-speed burst | Medium | Captures peak action |
| Exposure comp. | ±0.3 to ±1 EV | Medium | Corrects difficult light |
| White balance | Auto | Low | Adjustable in RAW |
| File format | RAW | High | Maximum editing flexibility |
Tiger Photography Settings India: Scenario Guide
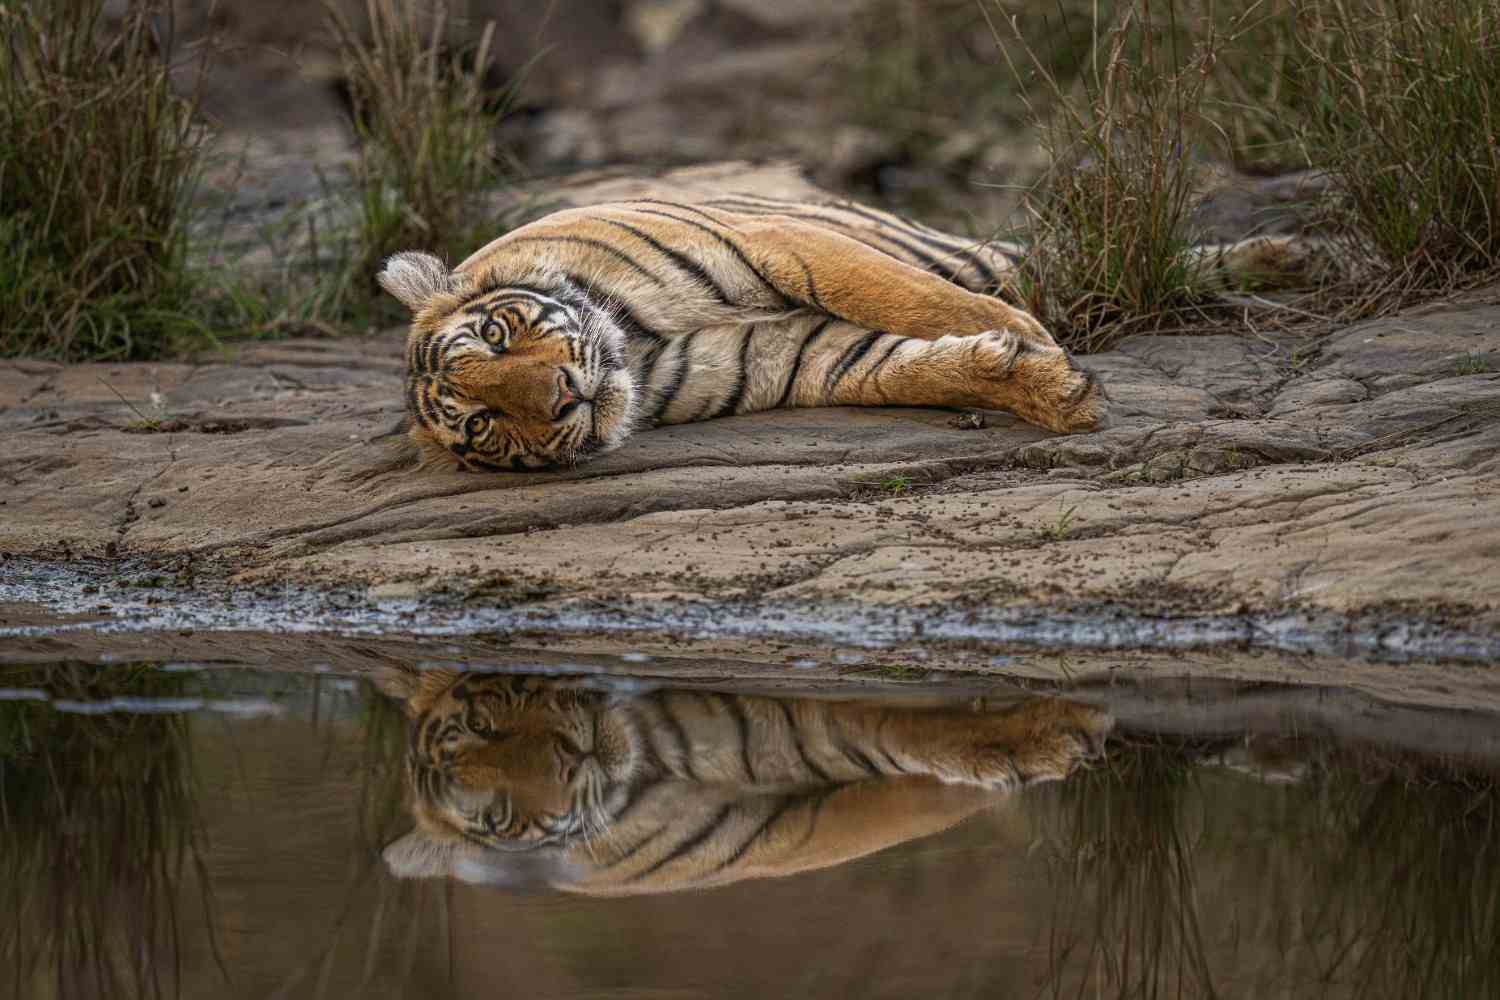
Use these as starting points for the best camera settings for safari photography, then adjust to your conditions. For a deeper look at tiger-specific technique, a guided tiger photography tour in India lets you practise in real sightings.
| Scenario | Shutter | Aperture | ISO | Tip |
| Resting tiger in shade | 1/500s | f/5.6–f/8 | Auto | Focus on the eyes |
| Walking tiger | 1/1000s | f/5.6–f/8 | Auto | Use AF-C and burst |
| Charging or hunting | 1/2000s+ | f/5.6–f/7.1 | Auto | Prefer noise over blur |
| Dawn or dusk | 1/500s+ | Widest practical | Auto, high | Brace on a bean bag |
| Backlit portrait | 1/1000s | f/5.6–f/8 | Auto | Add +0.7 EV |
Gear That Supports Your Settings
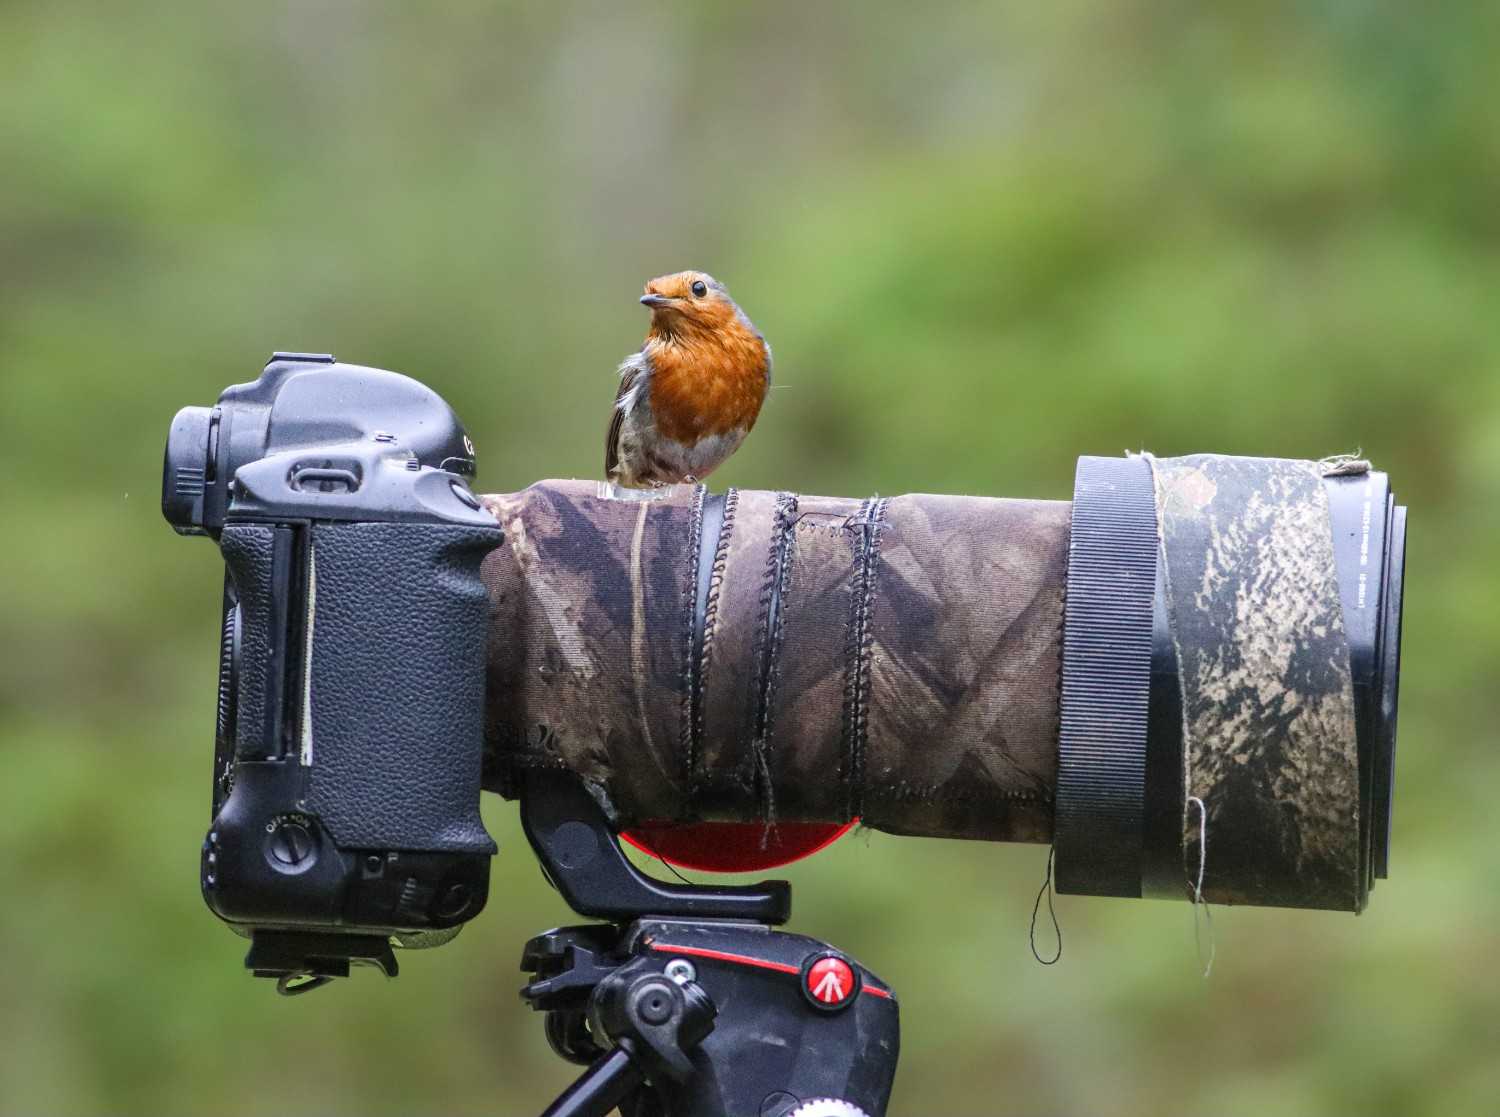
Settings work best with the right equipment. A camera with fast autofocus and a telephoto lens makes everything easier. Our guide to the best camera and lens for wildlife photography explains what to look for at different budgets.
Also practise in your own surroundings first. Birds in a local park, monkeys at a temple or street dogs at dusk are all useful subjects for testing your wildlife photography settings for beginners before a major trip.
How to Practise and Improve Faster
- Assign one setting to a custom button for instant changes
- Save custom modes for portraits, action and low light
- Check your histogram after every new lighting change
- Review your images at home and note which settings failed
- Photograph one subject in different settings for a week
If you want structured field learning, wildlife photography workshops in India combine camera craft with real sightings, while private 1–1 wildlife photography mentoring gives personalised feedback on your settings.
Final Thoughts
Great wildlife images come from understanding light, behaviour and your camera, not from memorising numbers. Start with these ten settings, test them in different conditions, and refine them as your instincts grow. When you are ready to put them into practice, explore the range of wildlife photography tours across India and let each sighting sharpen your skills.
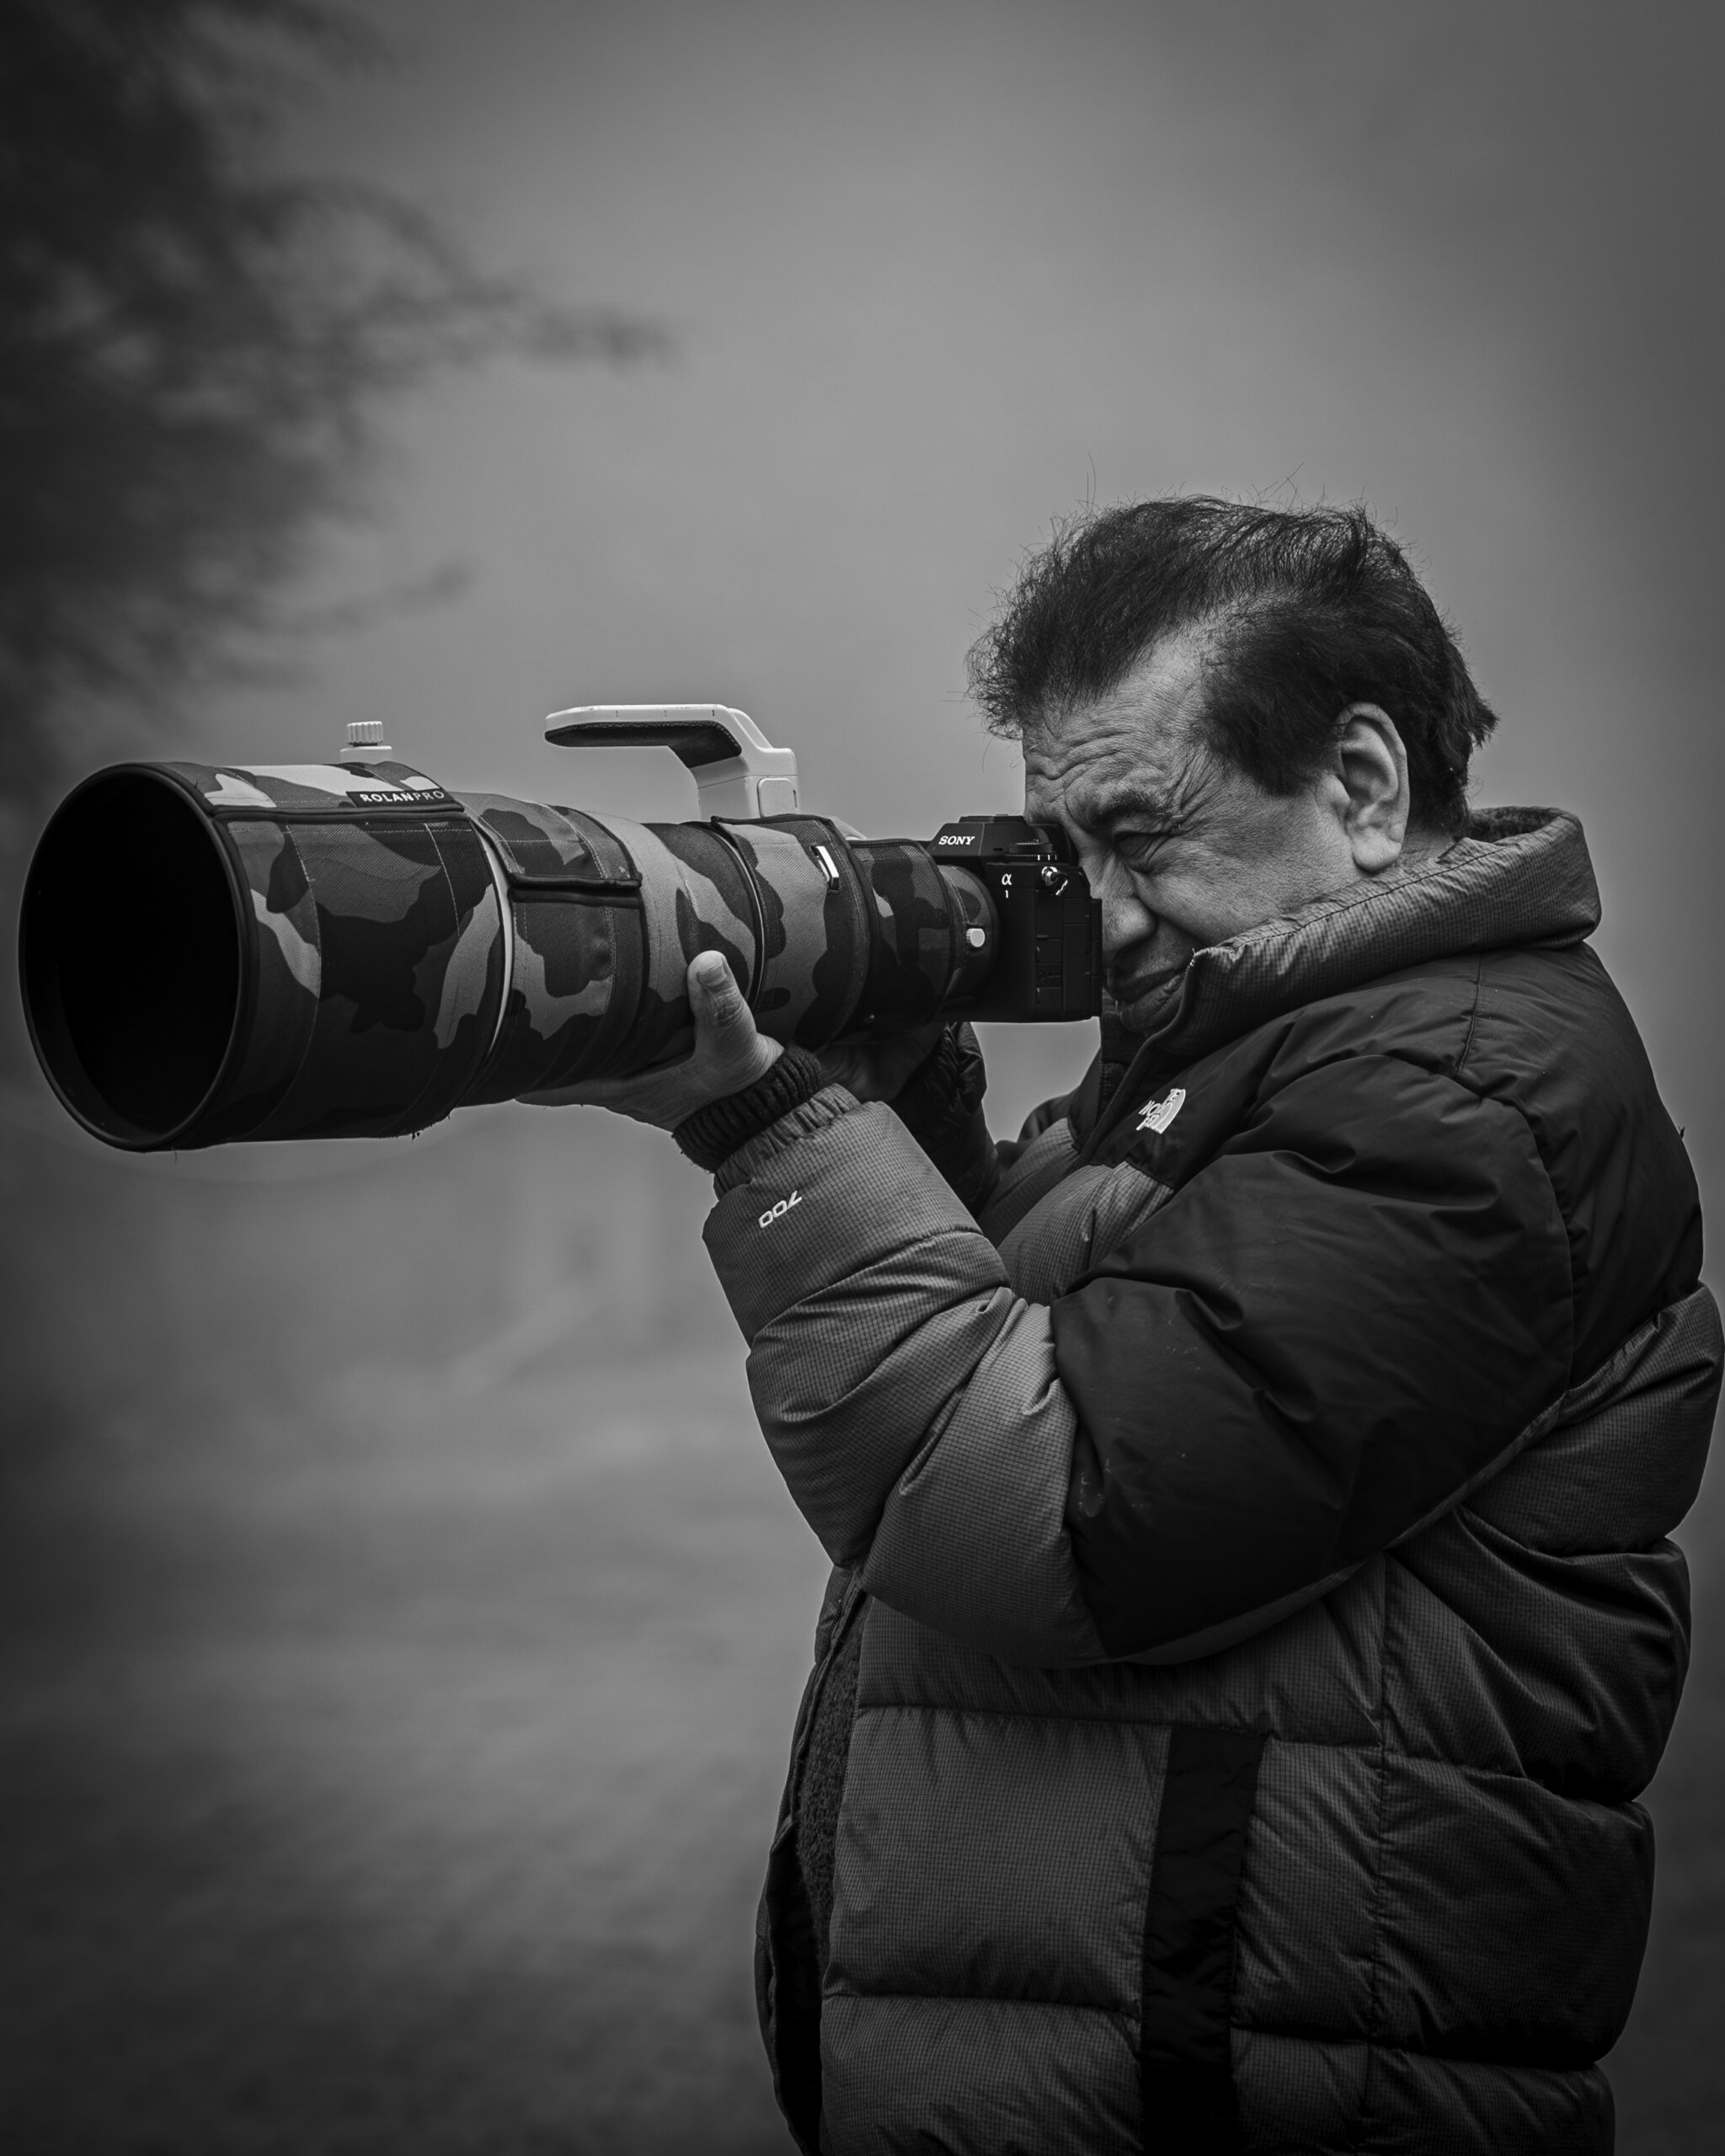
Yogesh Bhatia is a professional Wildlife photographer & mentor in India whose work reflects patience, observation, and a deep respect for nature. His journey in wildlife photography is shaped by countless hours in forests, observing animal behavior and waiting for moments that unfold naturally. Through his lens, wildlife is portrayed not just as subjects, but as living stories within their natural environment. His approach to Wildlife photography India focuses on authenticity rather than staged perfection, resulting in images that feel raw and immersive.