Every wildlife photographer remembers the first time a tiger broke into a sprint — or a leopard launched off a branch — and came away with a blurred, unusable frame. It is not the forest that failed you. It was the camera settings.
Fast-moving animals give you fractions of a second to react. In that window, your camera needs to be already set up to capture tack-sharp movement. No hunting through menus. No second guesses. Just the right settings, dialled in before the action begins.
This guide walks you through every critical camera setting you need — shutter speed, aperture, ISO, autofocus mode, burst rate, and more — with real-world context from India’s wildlife habitats. Whether you are photographing a cheetah on the Masai Mara or a tiger charging through the sal forests of Corbett, these settings will make the difference between a sharp story and a blurry memory.
If you are still figuring out which gear to invest in before worrying about settings, start here: Best Camera and Lens for Wildlife Photography.
Why Camera Settings Are Everything in Wildlife Photography?
Unlike studio or portrait photography, wildlife gives you no control over your subject. You cannot ask a leopard to slow down or ask a bird to stay in frame. What you can control, completely, is your camera. And that is where most photographers — even experienced ones — lose the shot.
The challenge with fast-moving animals is threefold: they are unpredictable in direction, they move at varying speeds, and the available light in forests and grasslands often changes every few seconds. A setting that worked for a peacock in open sunlight will completely fail you when a wild dog is running through dappled shade.
Understanding wildlife photography techniques goes far beyond knowing what each setting does — it is about knowing which combination to use, when, and how quickly to adapt.
Shutter Speed: The Most Important Setting for Action Photography
Shutter speed is the single most important variable when photographing fast-moving animals. It determines whether your subject is sharp or blurred, and there is very little tolerance for error.
The General Rule
For most fast-moving mammals — tigers, leopards, wild dogs, deer, cheetahs — you want a minimum shutter speed of 1/1000s. For birds in flight or animals in a full sprint, push that to 1/2000s or even 1/3200s.
Quick Reference: Shutter Speed by Subject
| Subject | Minimum Speed | Notes |
| Slow-walking tiger / elephant | 1/500s | Safe for walking pace, head movement |
| Trotting deer / big cat | 1/800s–1/1000s | Light needed; watch for motion blur |
| Running tiger / leopard | 1/1500s–1/2000s | Standard action shot requirement |
| Birds in flight | 1/2000s–1/3200s | Wing tips blur even at 1/2000s |
| Cheetah at full sprint | 1/3200s+ | Fastest land animal; needs maximum freeze |
Handling Low Light Situations
Early morning and late evening — the golden hours for wildlife — are also the hardest for maintaining fast shutter speeds. In these conditions, you have two options: raise your ISO (more on that below) or accept some motion blur creatively using panning technique. Panning works beautifully for side-on running shots, creating a sharp subject with a blurred background that conveys motion and energy.
Aperture: Balancing Depth of Field and Sharpness
For wildlife action, shoot wide — typically f/4 to f/6.3. This lets in maximum light (allowing you to maintain fast shutter speeds) while keeping enough of the animal in focus.
Avoid going below f/2.8 for running animals. At f/1.8 or f/2, your depth of field becomes so shallow that if the animal’s trajectory shifts slightly, the eyes go out of focus entirely. And in wildlife photography, the eyes must always be sharp. Everything else is secondary.
A practical starting point: shoot at f/5.6 with a long telephoto lens. This gives you a nicely separated subject, a workable depth of field for unpredictable movement, and enough light for fast shutter speeds in most daytime conditions.
Choosing the right lens matters as much as setting the right aperture. See our guide on best telephoto lenses for bird and wildlife photography in India to make sure your glass can keep up with your settings.
ISO: Push It Further Than You Think
Many photographers are unnecessarily afraid of high ISO. Modern mirrorless cameras — particularly Sony Alpha series bodies — handle ISO 3200, 6400, and even 12800 with remarkable cleanliness. A sharp, slightly grainy image is always better than a perfectly exposed blur.
ISO Guidelines for Wildlife Action
- Bright daylight, open grassland: ISO 400–800
- Early morning / late evening golden light: ISO 1600–3200
- Forest interiors (Corbett, Kanha, Bandhavgarh): ISO 3200–6400
- Overcast or deep shade: ISO 6400–12800
Use Auto ISO with a minimum shutter speed floor. Set your camera to maintain at least 1/1000s and let it push ISO automatically as the light drops. This way, you never sacrifice sharpness for exposure — the camera handles the trade-off for you.
Autofocus Mode: This Is Where Most Photographers Lose the Shot
Getting shutter speed and aperture right means nothing if your autofocus cannot track a moving animal. AF settings are arguably the most underestimated aspect of wildlife photography.
Use Continuous AF (AF-C), Not Single AF (AF-S)
AF-S locks focus on a stationary subject. The moment your subject moves, it stops adjusting. AF-C (also called AI Servo on Canon bodies) continuously recalculates focus as the subject moves. Always shoot in AF-C for any animal that might move.
Choose a Wide Zone or Animal Eye-Tracking
Most modern mirrorless cameras now include animal eye detection — Sony, Nikon Z, Canon R series all have this. Turn it on. When it works, it is extraordinary, keeping focus locked on the animal’s eye even through partial obstructions and changing angles.
If eye-tracking is unreliable in dense forest (it sometimes struggles with cluttered backgrounds), switch to a wide AF zone and let the camera prioritise the closest or most prominent subject in frame.
Predictive AF and Subject Tracking
Most current flagship cameras include predictive tracking. This is particularly valuable for side-on running shots. Once the subject is acquired, the camera predicts where it will be in the next frame and pre-focuses accordingly, which is how you get those pin-sharp mid-stride images that look almost impossible to capture. This is a setting you absolutely should practise during your wildlife photography tours in India before attempting it at critical moments.
Drive Mode and Burst Rate: Increase Your Keeper Rate
Fast animals are unpredictable. The peak moment of action — a mid-air leap, the exact stride where all four feet are off the ground, the head-on charge — lasts a fraction of a second. Burst mode is your best friend here.
High-Speed Burst vs. Medium Burst
Most cameras offer burst rates of 10–30 fps. While maximum burst sounds appealing, it creates enormous amounts of data and can overwhelm your card buffer in seconds. A practical approach: use medium burst (8–12 fps) for sustained action and switch to high burst for short, peak-action moments like a jump or a strike.
Electronic vs. Mechanical Shutter
Electronic shutter allows higher burst rates (up to 30 fps on some bodies) without mechanical noise. This is valuable for staying silent around sensitive species. However, be aware of rolling shutter distortion — rapidly moving subjects can appear slightly warped with electronic shutter. For most wildlife action, electronic silent shutter at 20 fps is the best of both worlds.
Metering Mode: Spot or Evaluative?
For moving subjects in varying backgrounds — an animal running from a shaded tree line into bright grassland — Evaluative / Matrix metering generally serves you better. It balances the whole scene rather than exposing just for a small spot on the animal.
Switch to Spot metering only when you have time to deliberately compose — for example, photographing a stationary animal against a bright sky backlight. In dynamic, fast-action scenarios, Evaluative metering with exposure compensation dialled in (-0.3 to -0.7 for bright Indian midday light) gives you the most consistent results.
Settings Breakdown by Animal Type
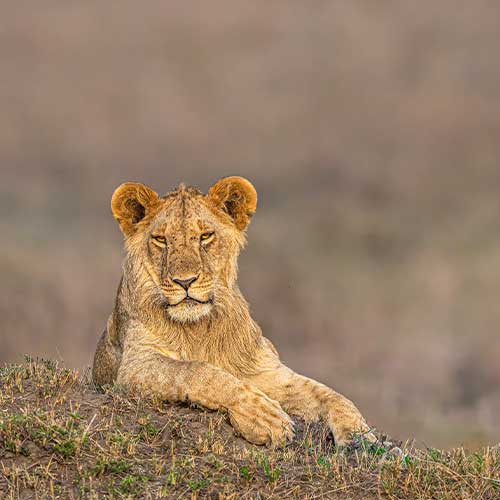
Tigers and Leopards (Corbett, Ranthambore, Kanha)
Big cats tend to move in short, explosive bursts. They may sit completely still for 20 minutes and then break into a charge with no warning. Your camera should always be in action-ready mode — AF-C active, 1/1000s minimum shutter, ISO on Auto. Keep your focus zone wide and your finger near the burst trigger. For more on reading tiger movement patterns, the Jim Corbett National Park Complete Wildlife Photography Guide covers this in excellent detail.
Elephants (Corbett, Kaziranga)
Elephants are large and appear slow, but a charging elephant covers ground faster than most people expect. At close range, 1/800s is your minimum. Keep your aperture at f/5.6 to f/8 to ensure the full bulk of the animal stays sharp — a razor-thin depth of field works against you here. For a more focused look at elephant photography, read our 5 essential tips for photographing wild elephants in Corbett.
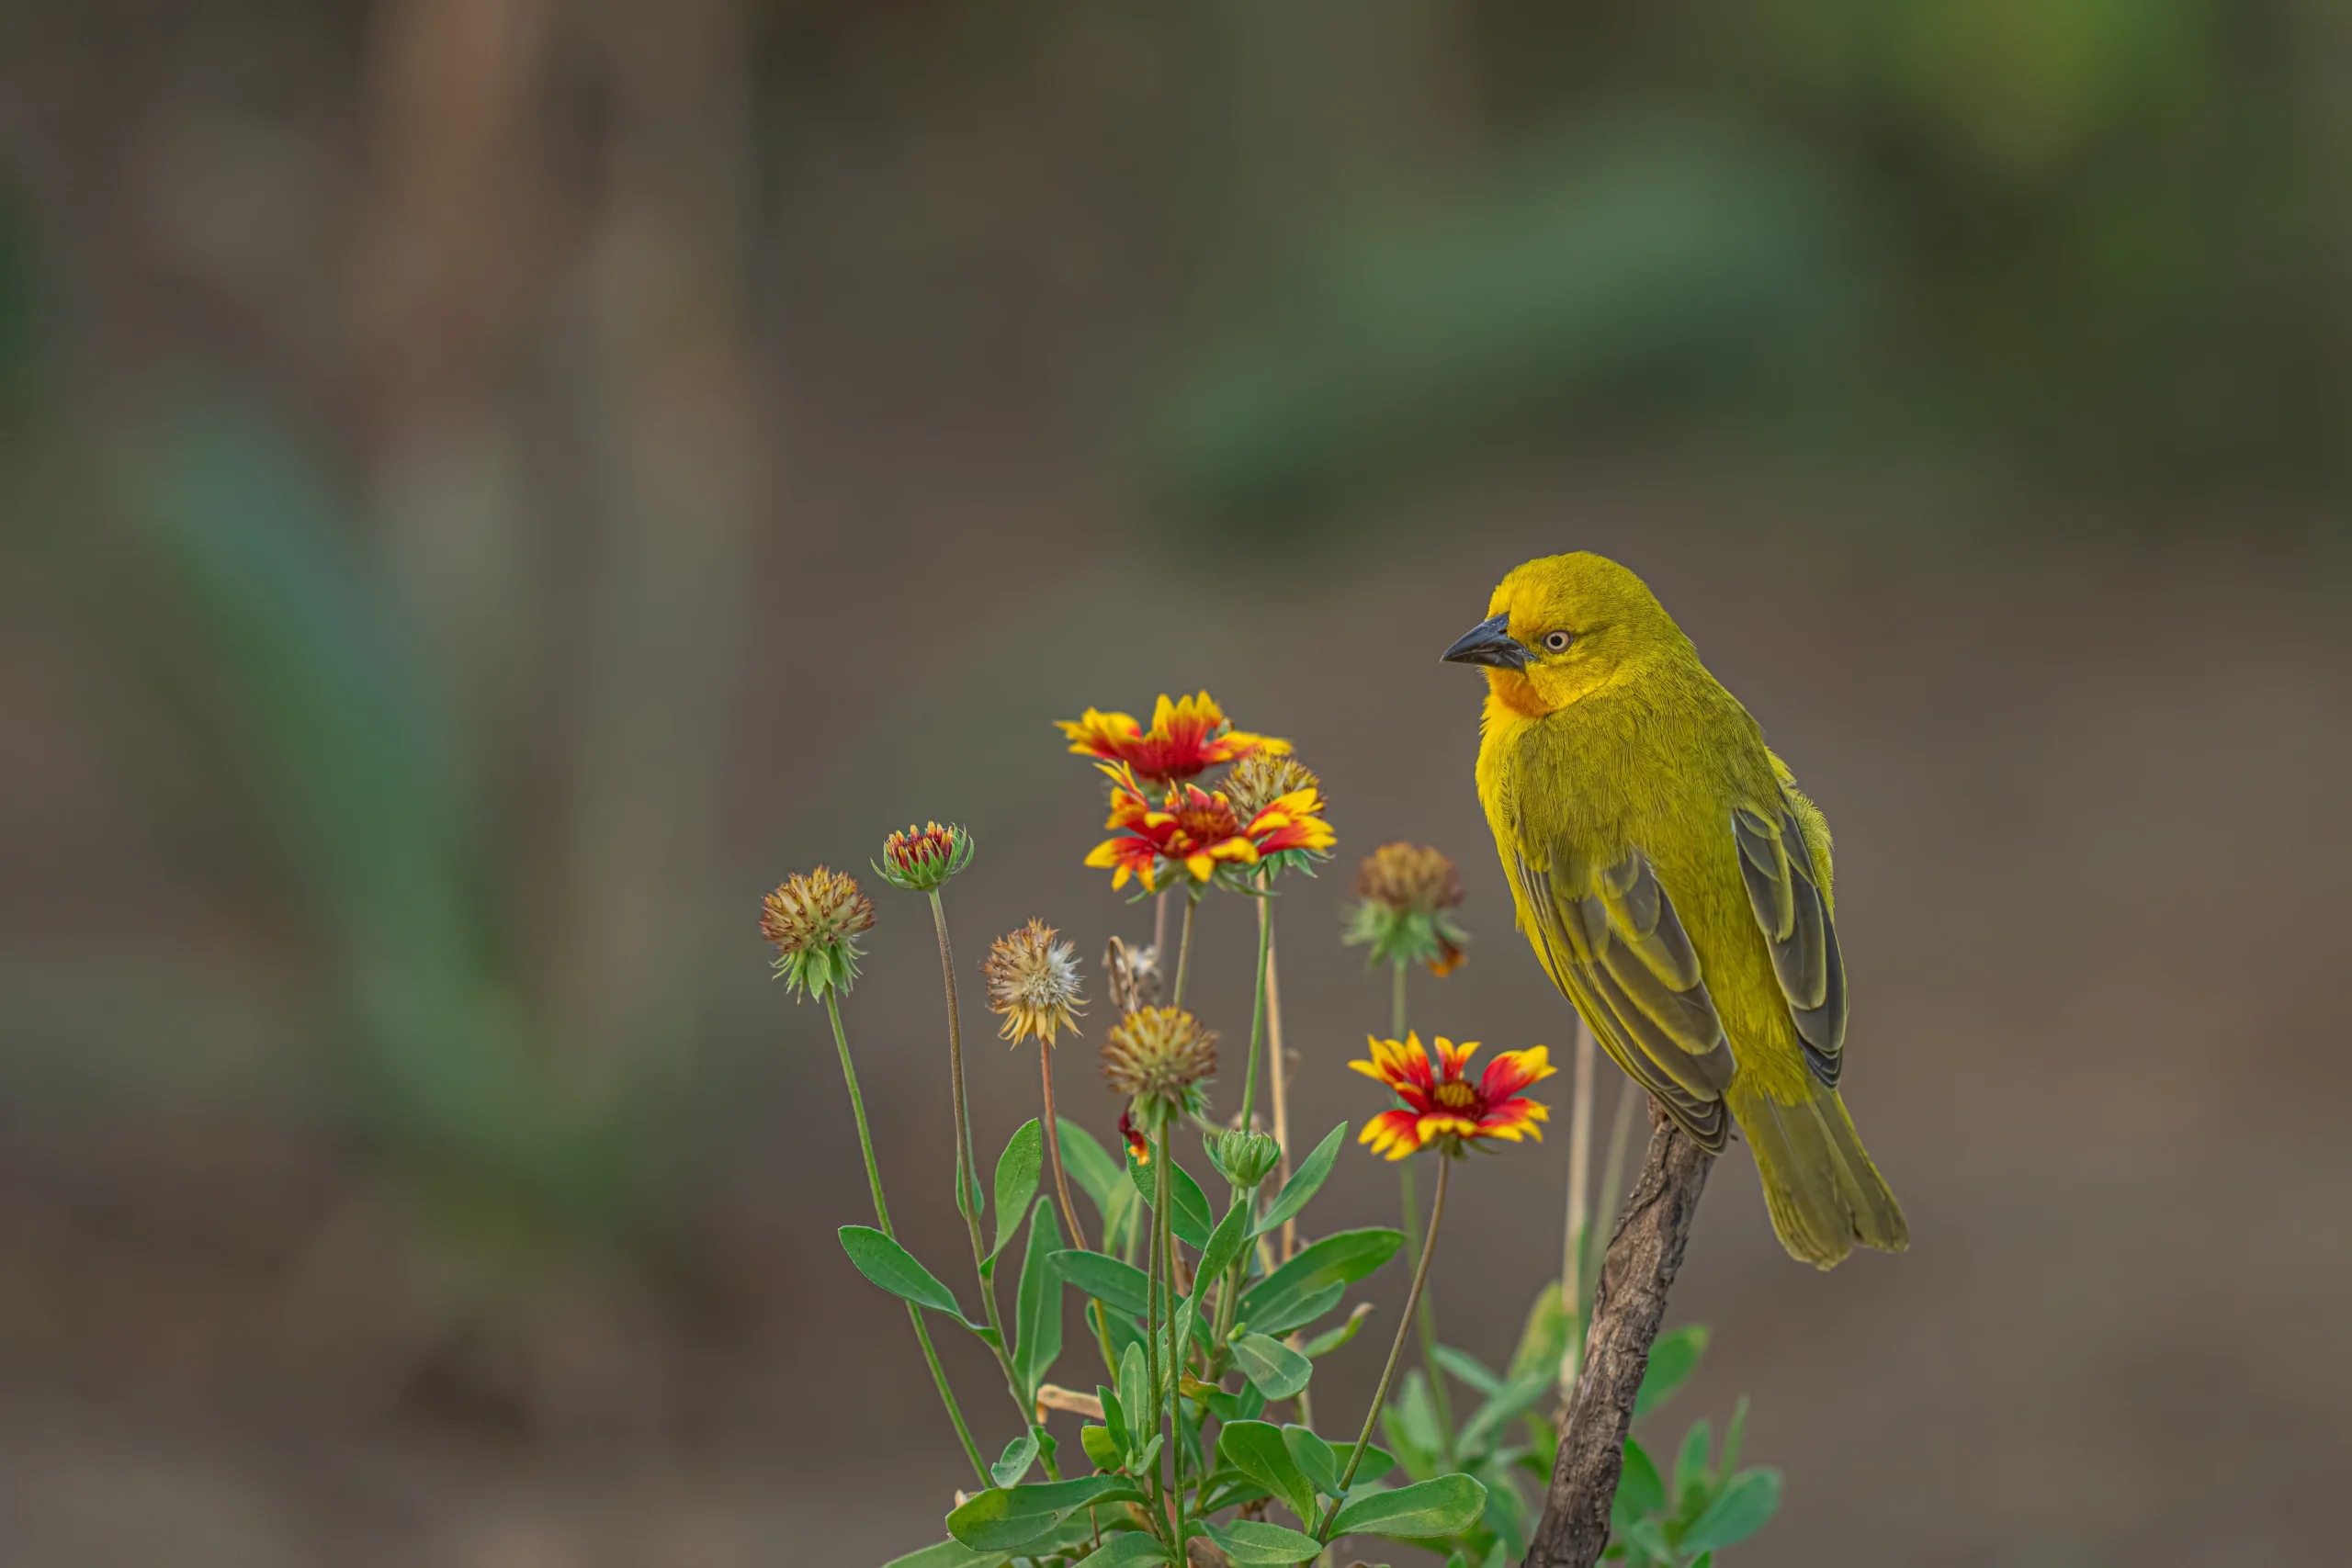
Birds in Flight
Birds require the fastest settings of all. 1/2000s is a starting point; for small fast-moving birds like kingfishers or bee-eaters, go to 1/3200s. Use the widest AF zone available and enable animal/bird eye detection. Burst rate should be at maximum — you will shoot 40 frames and keep 3. That is normal. Refer to our guide on best telephoto lenses for bird photography in India for the glass that can handle these AF demands.
Wild Dogs and Jackals (Open Grassland Predators)
Pack predators on the hunt are relentless and fast. 1/1500s to 1/2000s shutter is standard. Because they often run in groups, switch your AF tracking to the closest subject to avoid the camera hunting between animals. Medium burst keeps your buffer from filling during long chase sequences.
Your Complete Action Photography Settings Cheat Sheet
| Setting | Recommended Value | When to Adjust |
| Shutter Speed | 1/1000s – 1/3200s | Faster for birds; 1/2000s+ for sprinting mammals |
| Aperture | f/4 – f/6.3 | f/8 for large subjects (elephants, rhinos) |
| ISO | Auto (400–6400) | Set minimum shutter speed floor in Auto ISO |
| AF Mode | AF-C / Continuous | Always; never AF-S for moving subjects |
| AF Zone | Wide Zone + Eye Detect | Narrow zone only for slow, predictable subjects |
| Drive Mode | High Burst (10–20 fps) | Medium burst for sustained; high for peak moments |
| Metering | Evaluative / Matrix | Spot only for deliberate backlit compositions |
| Shutter Type | Electronic (Silent) | Mechanical if rolling shutter is visible |
| White Balance | Auto or Daylight | Kelvin manual in consistent golden-hour light |
The Settings Mean Nothing Without Field Practice
Reading about shutter speed and AF modes is useful. Actually practising them in the forest, under time pressure, with a real animal in your frame — that is what makes the settings instinctive.
Understanding why learning wildlife photography techniques is essential is not just about theory. It is about building reflexes. When a leopard moves, you should not be thinking about your settings. Your hands should already be making the right adjustments while your eyes stay on the subject.
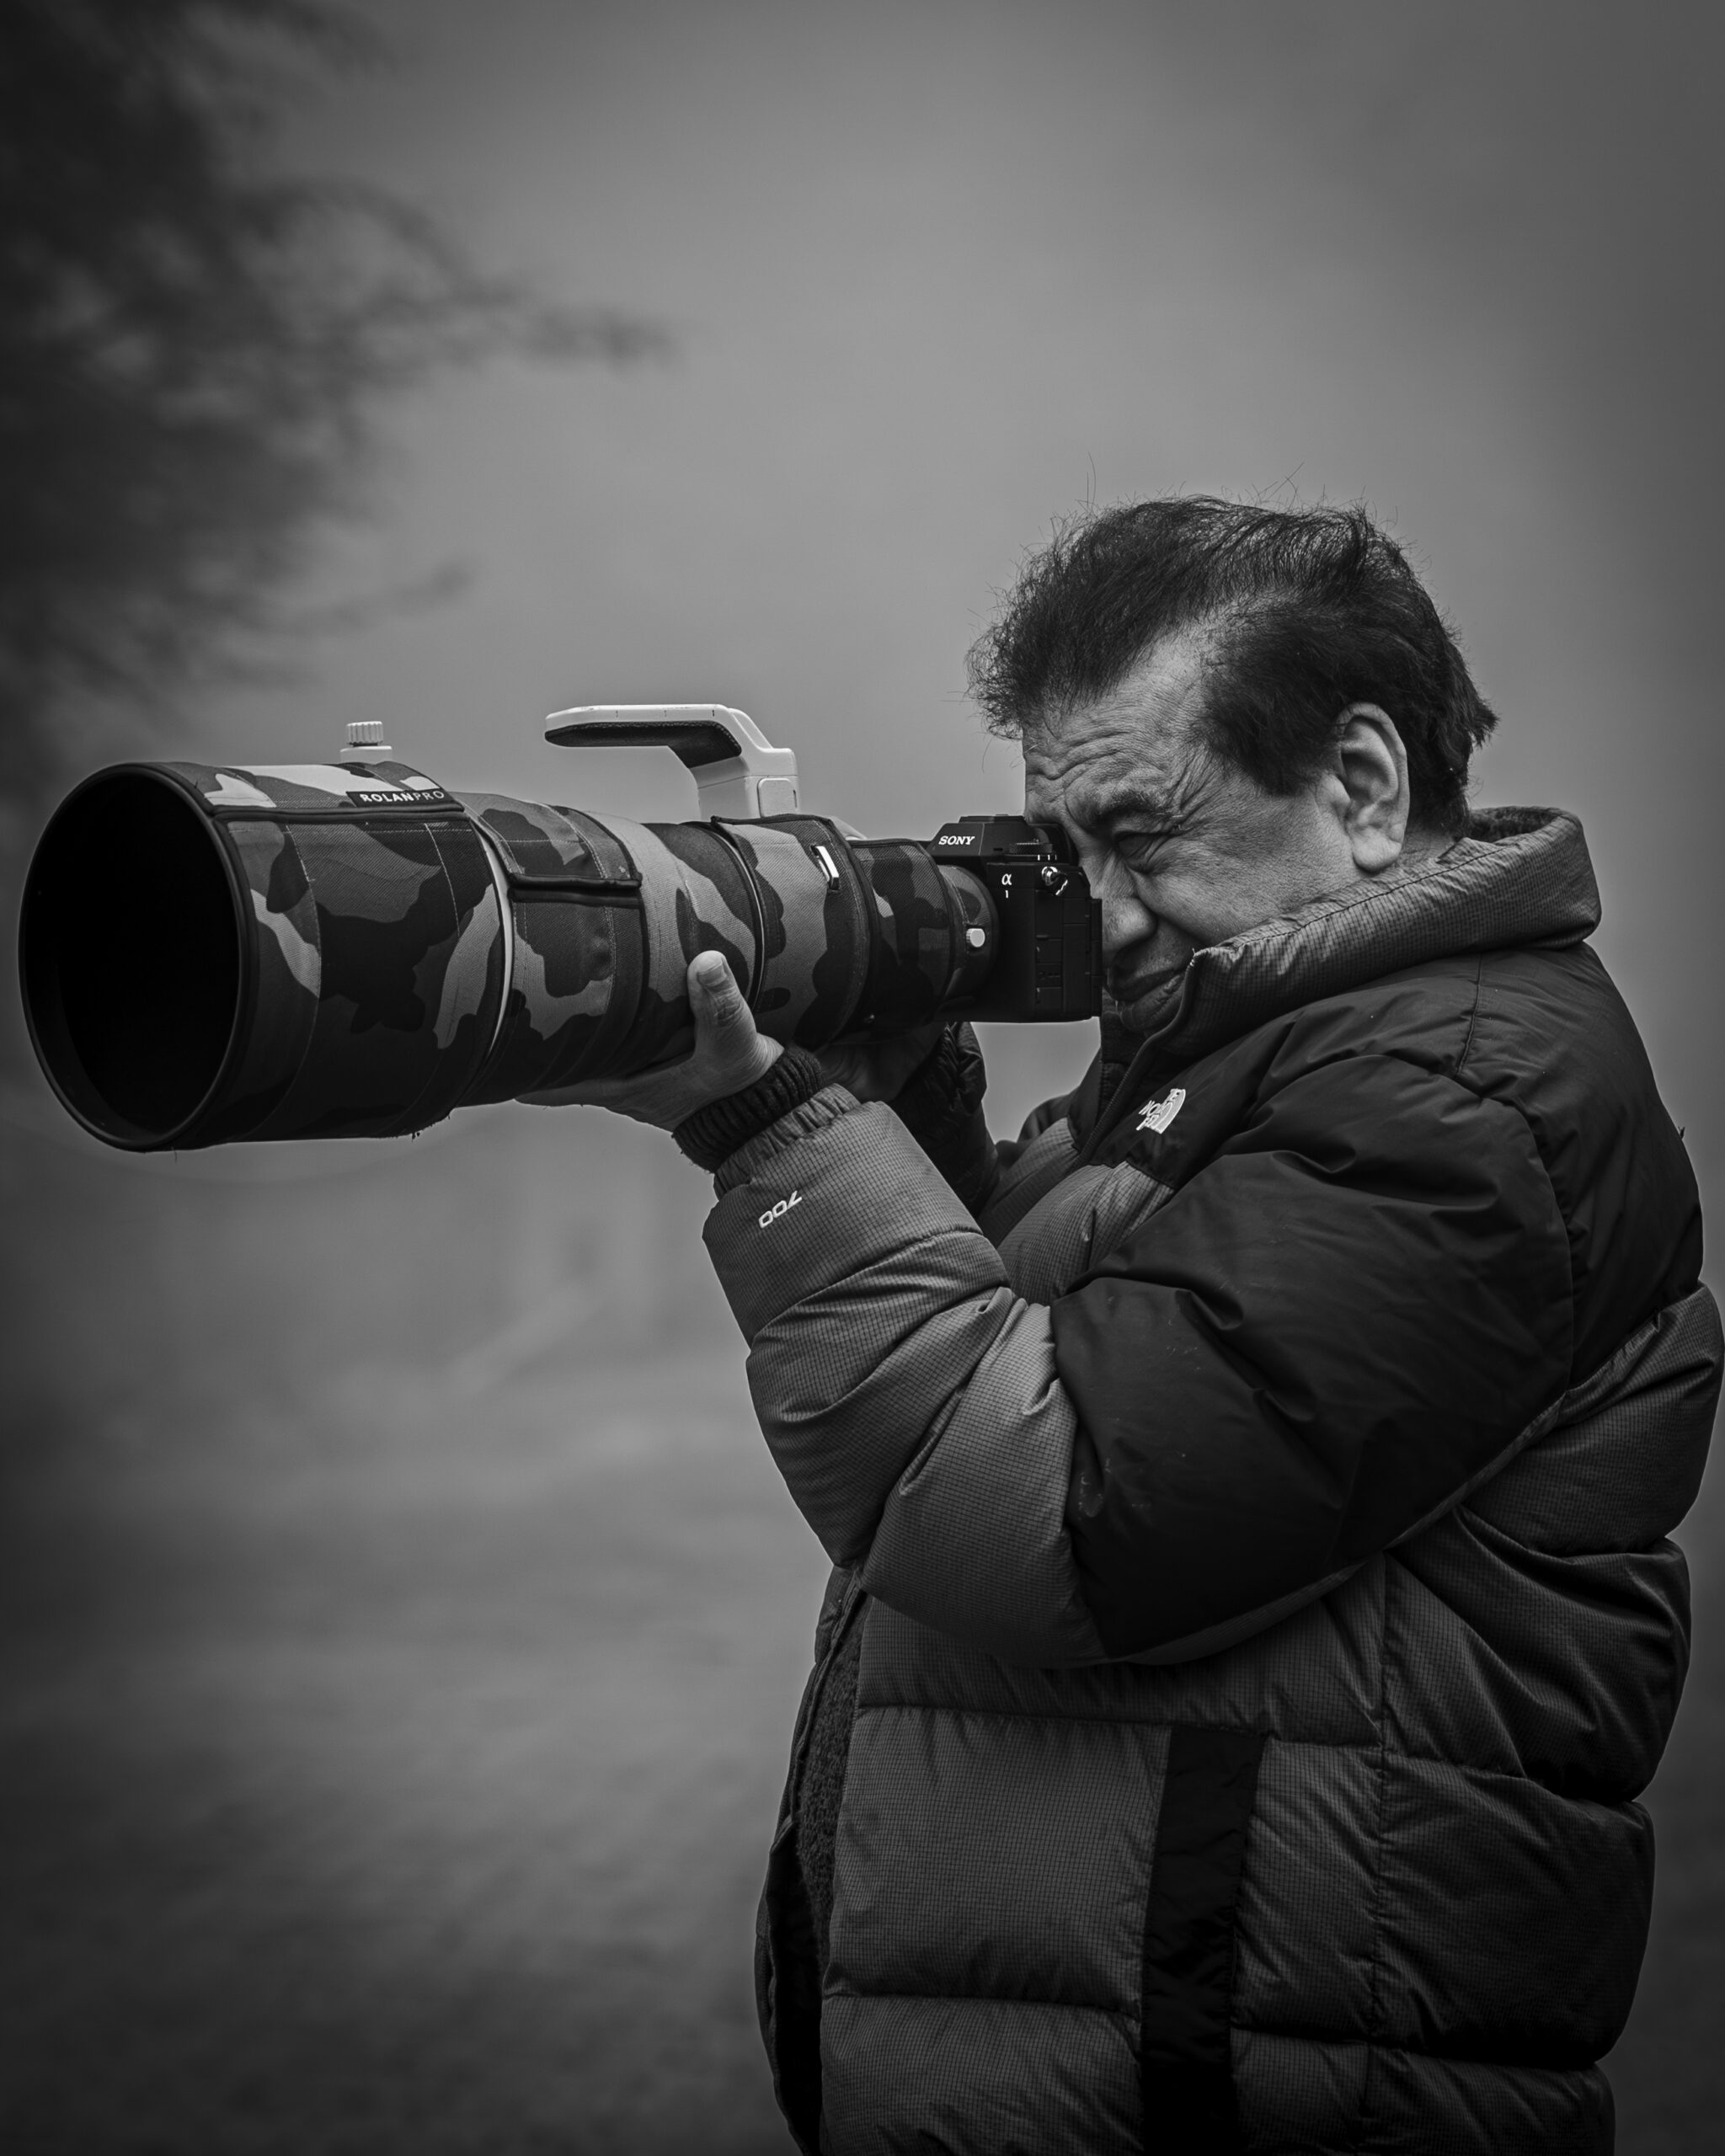
This kind of muscle memory comes from guided field time — not from reading alone. On our wildlife photography workshops, participants get real-time coaching during safaris. When the action happens, Yogesh Bhatia is right there with you, calling out adjustments and helping you understand in that exact moment what worked and what did not.
If you prefer one-on-one attention and a fully customised learning pace, the Private 1-on-1 Wildlife Photography mentoring programme is designed exactly for that. You choose the destination, the pace, and the specific skills you want to develop.
Not sure whether Corbett or Ranthambore suits your skill level and goals? This Corbett vs Ranthambore comparison guide will help you decide.
Final Thoughts
Camera settings for fast-moving animals are not a mystery. They follow a clear logic: freeze the motion, nail the focus, let the camera handle exposure. Once you understand that logic, adjusting for any animal — in any light — becomes a quick, confident decision rather than a stressful guess.
Start with the cheat sheet in this guide. Get into the field. Make mistakes, understand why, and adjust. That process — repeated across dozens of safaris — is how great wildlife photographers are made.
And if you want a shortcut to that experience, join one of our upcoming wildlife photography tours — where every safari is also a classroom.

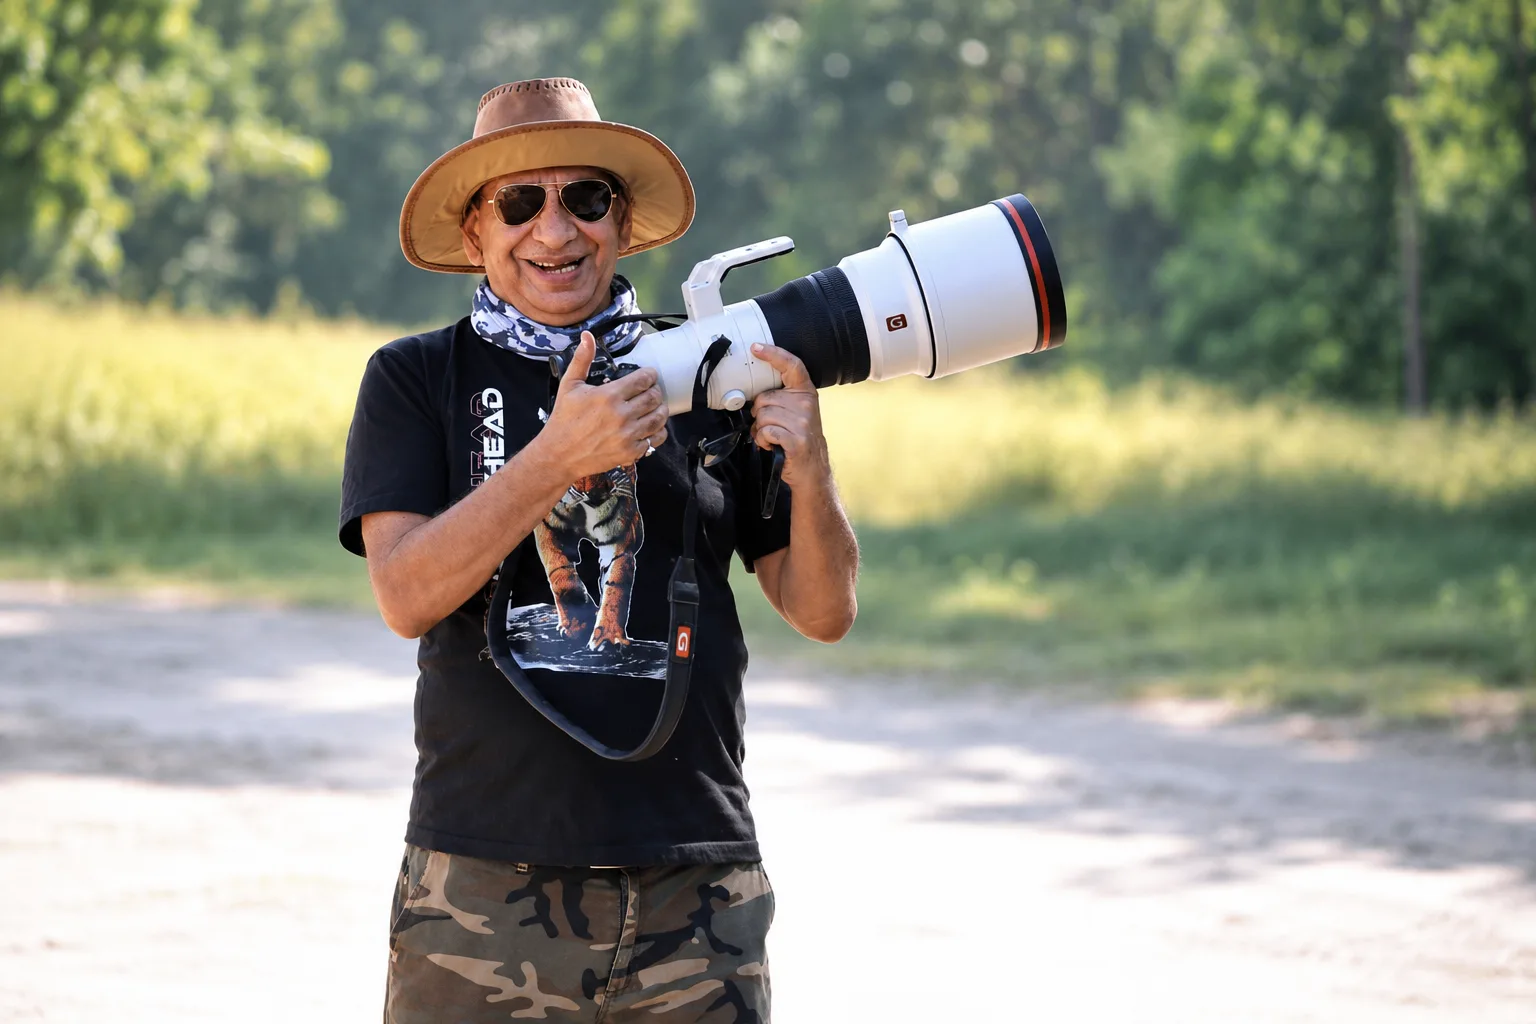
Yogesh Bhatia is a professional Wildlife photographer & mentor in India whose work reflects patience, observation, and a deep respect for nature. His journey in wildlife photography is shaped by countless hours in forests, observing animal behavior and waiting for moments that unfold naturally. Through his lens, wildlife is portrayed not just as subjects, but as living stories within their natural environment. His approach to Wildlife photography India focuses on authenticity rather than staged perfection, resulting in images that feel raw and immersive.