Wildlife photography does not end when the shutter clicks. The real challenge often begins afterward, deciding how much editing is enough without losing the soul of the moment. Post-processing wildlife photography is not about dramatic transformations or heavy effects; it is about refining what was already captured in the wild. The goal is to enhance mood, restore balance, and guide the viewer’s eye while keeping the image honest to nature.
Over-editing can strip an image of authenticity, making animals look artificial and landscapes unreal. This guide focuses on subtle, professional techniques that improve wildlife images while preserving their natural character.
Why Subtle Editing Matters in Wildlife Photography?
Wildlife images carry a sense of trust. Viewers believe what they see reflects a real moment in nature. Excessive contrast, unnatural colors, or aggressive sharpening can break that trust instantly.
Respecting the Natural Environment
Animals exist within delicate ecosystems. Editing should honor that reality rather than exaggerate it. A photograph should feel like a quiet observation, not a digital painting.
Editing as Refinement, Not Rescue
Good post-processing enhances strong captures, it does not fix poorly exposed or unfocused images. Clean editing begins with a well-shot photograph.
Start with the Basics: Global Adjustments
Before touching advanced tools, focus on foundational corrections.
Exposure and Contrast
Adjust exposure gently to recover details in shadows or highlights. Wildlife images benefit from soft contrast that maintains texture in fur, feathers, and skin.
White Balance Accuracy
Natural colors matter. Forest greens, desert browns, and dawn light should look believable. Avoid extreme warmth or coolness unless the mood genuinely demands it.
These steps form the base of effective Wildlife photo editing tips that professionals rely on.
Color Correction Without Artificial Saturation
Color is often where over-editing becomes obvious.
Vibrance Over Saturation
Vibrance boosts muted tones while protecting already strong colors, making it safer than saturation for wildlife images.
Keep Animal Colors Real
Animals have natural color patterns evolved for survival. Over-saturated fur or feathers can make an image look fake and distracting.
This restrained approach defines Natural wildlife photo editing, where realism always comes first.
Suggested Read: How to Capture Sharp Wildlife Photos in Low Light?
Sharpening: Precision Over Power
Sharpening should add clarity, not harshness.
Selective Sharpening
Apply sharpening only to the subject, especially eyes, whiskers, or feather edges. Leave backgrounds soft to maintain depth.
Avoid Halo Effects
Excessive sharpening creates bright outlines around subjects, instantly revealing over-processing.
Professional wildlife editors often sharpen at the final stage, after resizing the image for its intended use.
Noise Reduction Without Losing Detail
Low-light wildlife images often contain digital noise, especially in shadows.
Balance Is Key
Reduce noise carefully while preserving texture. Over-smoothing removes the fine details that make wildlife images feel real.
Target the Background
Apply stronger noise reduction to out-of-focus areas while protecting the subject’s features.
This technique is commonly used by experienced editors working with images captured in dense forests or at dawn.
Cropping and Composition Refinement
Editing is also about guiding attention.
Crop with Purpose
Crop to improve composition, but avoid excessive zooming that degrades image quality. Leave space in the direction the animal is looking or moving.
Maintain Natural Proportions
Over-cropping can distort perspective and reduce realism. Let the environment remain part of the story.
Many seasoned photographers refine this skill during guided Wildlife photography tours india, where composition is discussed alongside field techniques.
Dodge and Burn for Depth
Dodging (lightening) and burning (darkening) help shape the image subtly.
Enhance Natural Light
Brighten areas where light naturally falls and darken edges to create depth without artificial vignettes.
Avoid Obvious Brush Marks
Edits should be invisible. If the viewer notices the technique, it has gone too far.
This method adds dimension while keeping the image grounded in reality.
Staying True to the Story
Every wildlife photograph tells a story of a moment that cannot be repeated.
Ask Before Every Edit
Does this change improve clarity, or does it change reality? If the answer leans toward distortion, step back.
Develop a Consistent Style
Consistency builds credibility. A recognizable, restrained editing style reflects maturity and experience, often seen in the portfolio of a professional Wildlife photographer India who values authenticity over trends.
FAQs:
- How much editing is acceptable in wildlife photography?
Editing should enhance clarity and balance while keeping colors, textures, and lighting natural.
- Is it unethical to edit wildlife photographs?
Basic adjustments are widely accepted. Altering animal behavior, removing elements, or adding effects crosses ethical lines.
- Should wildlife photos look dramatic?
Drama should come from light, behavior, and composition, not from excessive editing.
- Can editing fix a poorly shot wildlife image?
No. Editing cannot correct missed focus, severe blur, or poor timing.
- What software is best for wildlife photo editing?
Professional tools like Lightroom and Photoshop are commonly used, but technique matters more than software.
- How do professionals keep images natural-looking?
They use selective adjustments, minimal color changes, and avoid global heavy effects.
- Should RAW files always be used?
Yes. RAW files provide greater flexibility for subtle, high-quality editing.

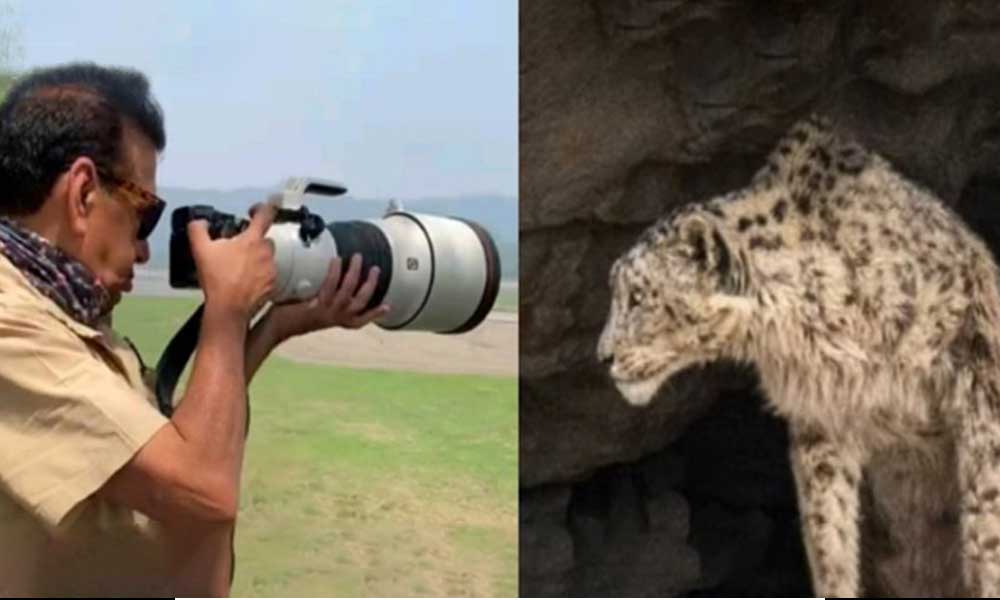
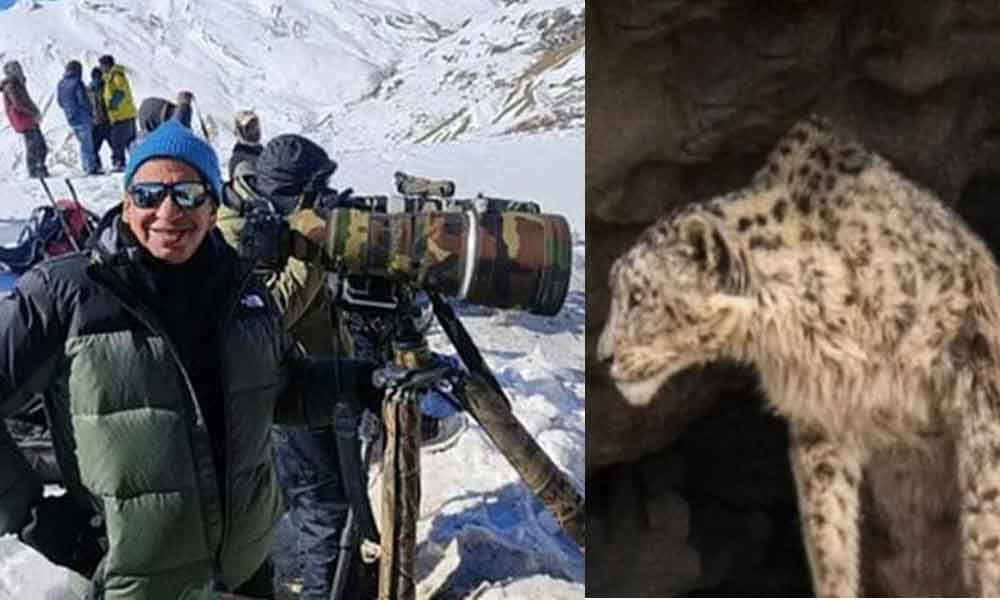
Yogesh Bhatia is a professional Wildlife photographer & mentor in India whose work reflects patience, observation, and a deep respect for nature. His journey in wildlife photography is shaped by countless hours in forests, observing animal behavior and waiting for moments that unfold naturally. Through his lens, wildlife is portrayed not just as subjects, but as living stories within their natural environment. His approach to Wildlife photography India focuses on authenticity rather than staged perfection, resulting in images that feel raw and immersive.